But I digress. This is about the gift I made for the happy couple, and it's journey from raw gourd to finished product and wrapped gift.
After cleaning and sanding the Roger 6.2 gourd, my husband helped me cut a hole through the top. I used the small cleaning balls to clean out the inside as best as I could. I filed the sharp edges around the hole, beveling it just slightly so the votive holder would be a little more flush and secure as it sits in the hole.
 |
| Raw hole |
 |
| Votive holder in raw hole. You can see here why I beveled the edge a bit. |

There is a lot of free clipart online, and I used one that I modified to create the Lilies of the Valley artwork on the front of the gourd. I printed the art, taped it to the gourd with carbon paper behind it, and then traced. Most of the finer details were left out because I'm not anywhere near ready for that kind of burning. The lettering is my own, done in pencil after the tracing was finished.

 Since it was so late when I broke out the burner, I started with the leaves. Long, straight-ish lines are easier when I'm not fully energized, and my eyes get lazy after my boy goes to bed, so the leaves were the starting point.
The bell-shaped lilies came next. Tough little boogers, they were. With their tight turns and turned out petal tips.
Finally I burned the Violets and Johnny Jump Ups at the bottom of the design.
I must say that I really liked--and still love--the two-tone effect of just having the flowers burned into the gourd,and not colored. But, seeing as how this was a wedding gift, and I wanted it to be special, I went ahead with the dying.

With the coloring, I again started with the leaves, but not for ease of application. I wanted to start with the darker colors and work my way up to the white of the lilies. That way I wouldn't be getting green and dark purple all over my lighter-colored flowers.


It was a dance of color experimentation to get the effects of darker and lighter that I was aiming for. For the violets, I mixed white and purple dyes to get a lighter shade.
My first attempt at the purples and white had blue hue ghost pearl mixed in. This is actually a color my husband gave me from his car paints. It's a powder, and I thought I could work it like the gold and silver pigment powders I got from Welburn Gourd Farm, mixing it into the liquid dye to give the dye a pearlized effect. It didn't work, as my husband had told me. With the pearls--ghost pearls, at least--you have to apply them on top of the base color.
 I will say that when the dye was still wet, the pearl was clearly visible. It was only once I heat-set it that the color dulled out and lost the sheen.
For the yellow on the Johnny Jump Ups, I blended a classic yellow ink dye with a hint of gold pigment powder to give it some glisten.
The white of the lilies didn't take to the pearl at all. Which was fine in the long run since I was going to have to apply the pearl with glue anyway. But I was pleasantly surprised at the tinting of the white. It wasn't too transparent, but that also could've been from mixing the pearl into the first application.


Over all, I was really pleased with the coloring before any more pigment powder was added. The shading in the leaves was just right to give the effect of different layers.
After giving the background a light honey finish to even out the blemishes, I started on the lettering. For this, I painted the letters with black heat-activated glue. The black color gives the pigment powder a more solid base, making the color of the powder stronger. Once I heat-set the glue, I dusted on some silver pigment powder using a soft makeup-style brush.

 The camera just can't capture the shimmery essence of the powders. It sparkles, I promise. In the sun, it's spectacular.
Once that was done, I used clear heat-activated glue on all of the flowers--except where there was already gold powder, because that was already shimmery gold. The blue hue ghost pearl was dusted on, creating a beautiful simmer across the flowers. (Shimmer is the word of the post, if you haven't noticed. ;) ) Of course, the pearl can't really be captured on camera either. Maybe one day I'll figure that one out.

I thought I should put the event date on the gourd, too, it being a wedding and all. So I decided to do it small on the back. My very first attempt with pencil was perfect, and that never happens.
 |
| Perfect Pencil |
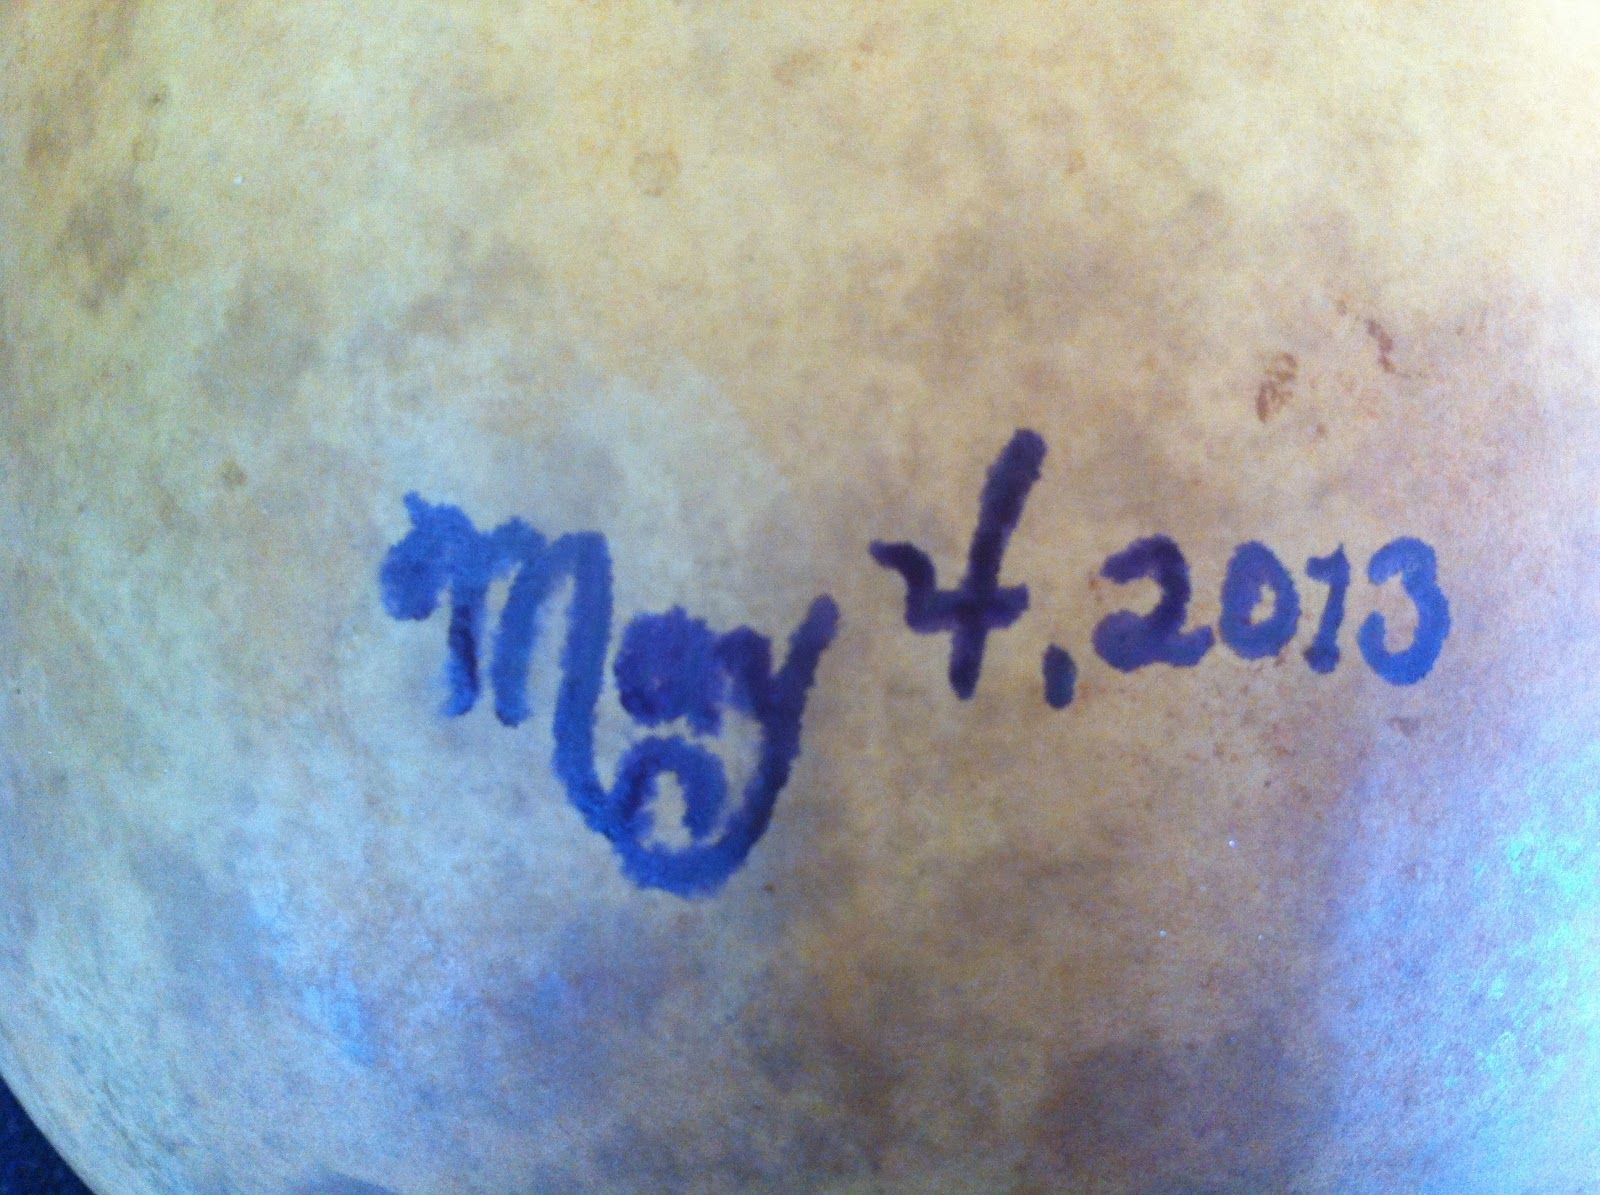 |
| Bleeding Ink |
I then took the finally completed gourd outside, sprayed the inside with a finish as best I could, and hung it upside-down on an electric fence post. This is the best way I have found for spraying the outside with the finishing spray.

So here is the final result shown with the votive holder and candle I provided.

And here is the presentation of the gift. (Mind you, the gourd and candle were wrapped in bubbles.)
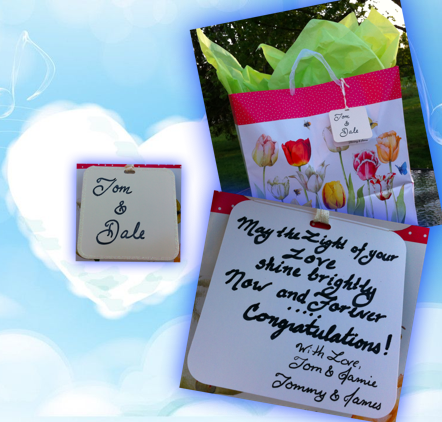
I really hope they like it. I wish them and her kids nothing but happiness in their new life together.
I love Gourd Art work you're is very pretty. I think that it was wonderful that you made a personal gift for the Bride and Groom.
ReplyDelete